

Once the turkey comes out of the oven, the pan looks messy: browned juices, a layer of fat, and little bits stuck to the bottom. That is the start of turkey gravy, whether you make it from those drippings or, if the pan is almost dry, from butter and broth.
The short answer: for a thickened flour gravy, Iowa State University Extension uses 2 tablespoons of fat, 2 tablespoons of flour, and 1 cup of liquid for each cup of gravy. Use the fat and juices from the roasting pan when you have them, or unsalted butter and turkey broth when you do not. Refrigerate leftover gravy within 2 hours, keep it 3 to 4 days in the refrigerator, and reheat it to a rolling boil (165°F), according to the USDA Food Safety and Inspection Service (FSIS).
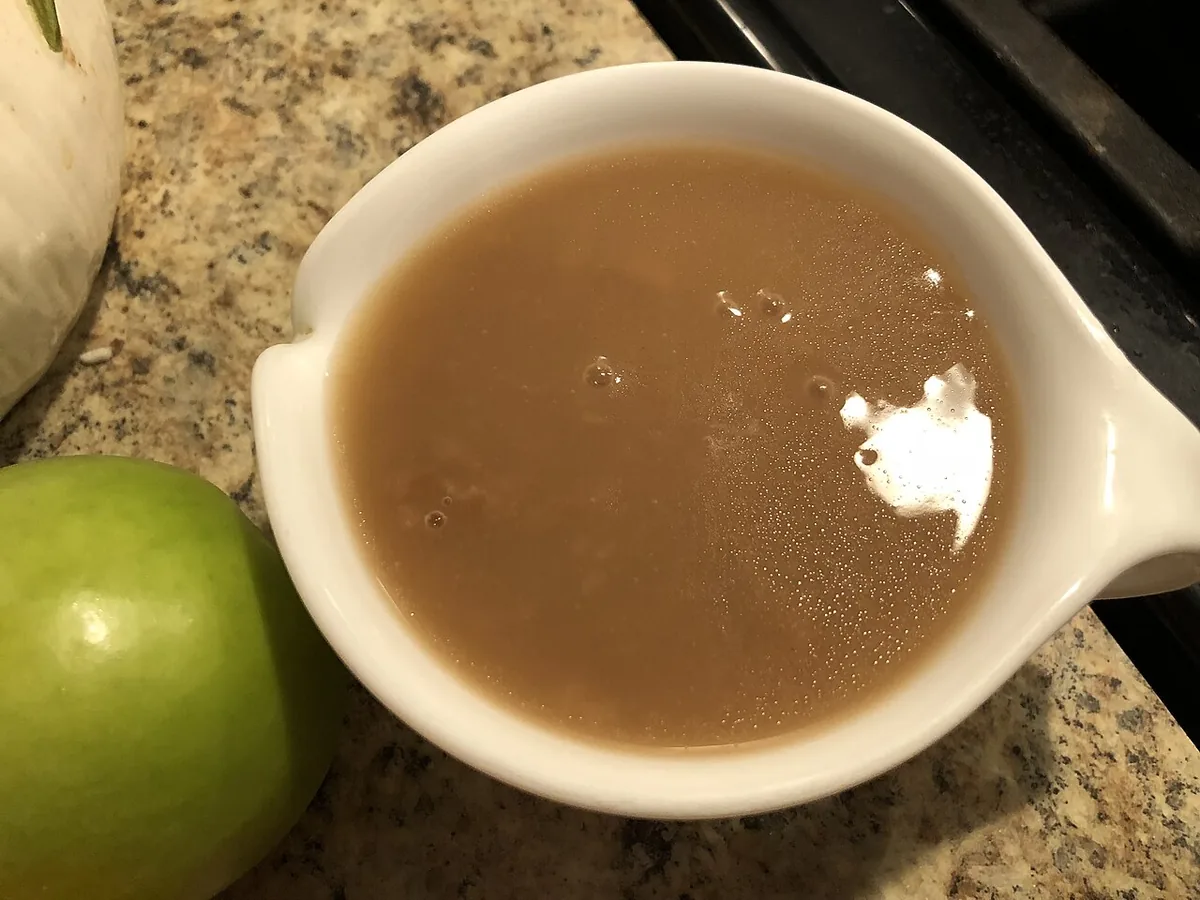
Why You’ll Love This Gravy
- It uses the turkey you already cooked. The browned juices in the pan are the flavor base. If you do not have drippings, the same ratio works with broth.
- The method is straightforward. Strain, separate the fat, make a roux, whisk in the liquid, and simmer until it thickens.
- You can make it ahead. USDA FSIS says cooked dishes and gravy keep 3 to 4 days in the refrigerator, or you can freeze gravy for later.
- A cornstarch option is included for cooks who cannot use flour, with amounts from a University of Maine Extension broth gravy.
Ingredients and What They Do
Full amounts are in the recipe card at the end. This version is scaled to about 4 cups of gravy, using Iowa State Extension’s ratio of 2 tablespoons fat, 2 tablespoons flour, and 1 cup liquid per cup of gravy.
- Turkey fat from the drippings. This is what you cook the flour in. If the pan does not give you enough fat, Iowa State Extension says to make up the difference with butter or another fat.
- All-purpose flour. Cooked with the fat into a roux, it thickens the gravy and helps it stay smooth.
- Defatted drippings plus turkey or chicken broth. The juices under the fat are concentrated turkey flavor. Broth fills in the volume when you do not have a full 4 cups of juices, and it is the entire liquid if you are making gravy without drippings.
- Salt, pepper, and optional sage or thyme. Iowa State Extension suggests seasoning lightly, especially if the drippings or the broth are already salty, and tasting as you go.
Tools You Need
A fat separator makes it easier to pour off the juices and leave the fat behind, though a spoon and a clear measuring cup also work. A fine-mesh strainer catches the solids. A balloon whisk helps the roux and the liquid come together without lumps. A food thermometer is the tool USDA FSIS calls for when you reheat leftovers to 165°F.
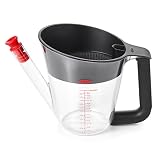
- Keep Flavor Without the Fat: This OXO fat separator features a stopper that keeps flavor in and fat out while making gravy. Use...
- Strainer Included: This OXO gravy fat separator features a strainer that catches unwanted bits from roasting pan drippings. The...
- Less Mess: Raised shield helps prevent spilling and splashing when holiday hosts pour from this oil separator


- 12-INCH BALLOON WHISK — One 12-inch stainless steel balloon whisk for whisking, beating, and blending eggs, batters, sauces, and...
- COMFORTABLE HANDLE — Ergonomic handle provides improved grip and control for extended whisking tasks — a versatile Kitchen...
- HEAVY-GAUGE STAINLESS STEEL — Built to resist rust, bending, and everyday wear for consistent long-term performance in any home...
How to Make Turkey Gravy From Pan Drippings
Start with a fully cooked turkey. USDA FSIS says to cook all poultry to an internal temperature of 165°F, measured with a food thermometer. For roasting times by weight and where to check the temperature, see how long to cook a turkey. If you still need to thaw the bird, use a safe thawing method. A wet or dry brine is optional and does not change the gravy method, though a salted bird can make the drippings saltier.
- Let the turkey rest. Iowa State University Extension recommends tenting the turkey and letting it rest for 20 minutes after it comes out of the oven. More drippings collect in the pan during that rest.
- Strain the pan juices. Move the turkey to a board or platter. Pour everything in the roasting pan through a fine-mesh strainer into a fat separator or a measuring cup.
- Separate the fat. Let the fat rise, then measure 8 tablespoons of it. If you are short, add unsalted butter. Measure the defatted juices and add turkey or chicken broth until you have 4 cups of liquid.
- Make the roux. In a saucepan, or in the roasting pan set over medium heat, whisk the 8 tablespoons of flour into the fat. Let the mixture bubble and brown slightly, still whisking, so the raw flour taste cooks off.
- Whisk in the liquid. Pour the 4 cups of drippings and broth in slowly, whisking the whole time so the roux dissolves and the gravy stays smooth.
- Simmer until it thickens. Bring the gravy to a boil, then lower the heat and simmer gently. Iowa State Extension recommends about 10 minutes longer at a gentle simmer, adding more broth if you want it thinner. These times come from that extension method; they have not been kitchen-tested here.
- Season and serve. Add salt, pepper, and a pinch of sage or thyme if you like. Taste before you add much salt. Serve the gravy hot.
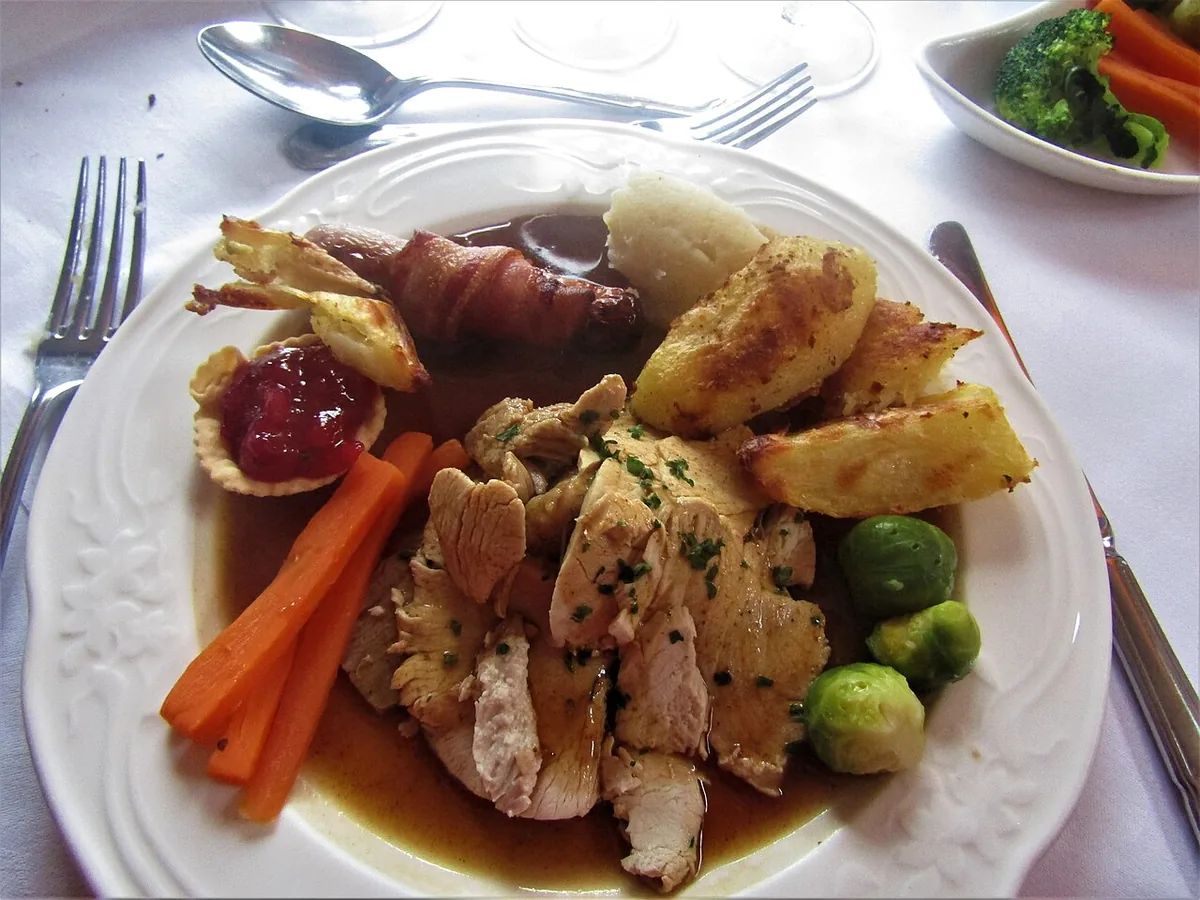
How to Make Turkey Gravy Without Drippings
If the pan is almost dry, or you are warming leftover turkey later in the week, you can still make gravy with the same ratio. Use 8 tablespoons of unsalted butter in place of turkey fat, and 4 cups of low-sodium turkey or chicken broth in place of the drippings. Whisk the flour into the melted butter, let it bubble and brown slightly, then add the broth slowly and simmer until the gravy thickens, just as you would with drippings.
The flavor will be milder than gravy built on roasted pan juices. A splash of the juices from leftover turkey, if you have them, can be stirred in at the end. Keep the salt light until you taste it, especially if the broth is already seasoned.
Cornstarch Gravy, When You Cannot Use Flour
Iowa State University Extension lists cornstarch and potato starch as the best thickeners when flour cannot be used. Cornstarch gravy is more translucent than a flour gravy, and starch gravies need less simmering. The same source says to avoid boiling them hard, because overcooked starch gravy can thin out, and that starch-based gravy does not freeze well.
For amounts, a tested University of Maine Cooperative Extension broth gravy uses 1 to 1.5 tablespoons of cornstarch for 4 cups of low-sodium poultry or vegetable broth. The cornstarch is mixed with just enough water to make a slurry, whisked into simmering broth, and cooked at a low simmer for 5 minutes. That recipe is a broth gravy, not a drippings gravy; you can use it as written when you want a gluten-free, broth-based sauce, and season it to taste.
Make-Ahead, Storage, and Reheating
Gravy is perishable. USDA FSIS says bacteria grow rapidly between 40°F and 140°F, and leftovers must be refrigerated within 2 hours of cooking or of coming off a warming appliance (within 1 hour if the air is over 90°F). Do not serve gravy that has sat out longer than that. Divide it into shallow containers so it cools quickly.
| Question | USDA FSIS guidance |
|---|---|
| Time at room temp | Refrigerate within 2 hours (1 hour if over 90°F). Discard gravy left out longer. |
| In the fridge | Cooked dishes and gravy: 3 to 4 days at 40°F or below. |
| In the freezer | Cooked poultry dishes, stuffing, and gravy: 3 to 4 months for best quality. Frozen food stays safe longer; quality is the limit here. |
| How to reheat | Bring leftover gravy to a rolling boil. Leftovers should reach 165°F on a food thermometer. |
Sources: USDA FSIS, Leftovers and Food Safety; USDA FSIS, Turkey Basics: Handling Cooked Dinners; USDA FSIS, Leftovers: Let’s Keep the Best Part of Thanksgiving Safe.
To make gravy ahead, cook it, cool it in shallow containers, and refrigerate or freeze it on that schedule. Reheat it from the refrigerator in a saucepan, stirring often, until it reaches a rolling boil. USDA FSIS also says it is safe to reheat frozen leftovers without thawing first, though it will take longer. If a flour gravy thickens too much in the fridge, whisk in a little broth as it heats. Cornstarch gravy is the poor candidate for the freezer, according to Iowa State Extension.
When the meal is over, leftover turkey has plenty of uses. See leftover turkey recipes for ideas, and keep the gravy on the same 3- to 4-day refrigerator clock.
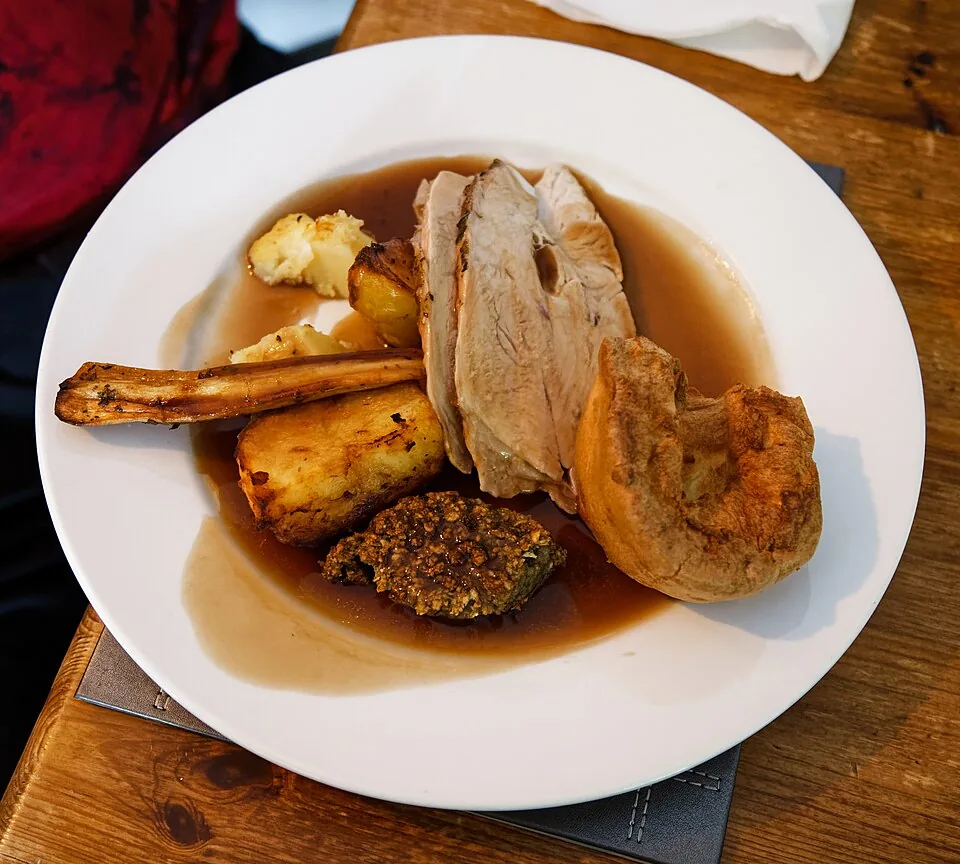
If the Gravy Goes Wrong
Iowa State University Extension offers practical fixes, short of scorched gravy, which is hard to rescue:
- Too thin. Whisk in a small flour-and-water slurry and bring the gravy back to a boil, or whisk in a little extra roux (equal parts butter and flour) and simmer again.
- Too thick. Whisk in more drippings, broth, or water until it loosens.
- Lumpy. Blend until smooth, or keep whisking over the heat until the lumps dissolve.
- Bland. Add a little salt or herbs, a drop or two of soy sauce, or sautéed onions or mushrooms. Taste as you go.
- Greasy. Skim more fat from the top, or blot with a slice of bread, then whisk in a little extra liquid.
Turkey Gravy FAQ
Can I make turkey gravy without drippings?
Yes. Use the same fat-and-flour ratio with unsalted butter and turkey or chicken broth, as described above. The gravy will be milder than a version built on roasting-pan juices.
How far ahead can I make turkey gravy?
You can make it, cool it quickly, and refrigerate it for 3 to 4 days, or freeze it for 3 to 4 months for best quality. Reheat to a rolling boil before serving.
How long can leftover gravy sit out?
No more than 2 hours at room temperature, or 1 hour if it is hotter than 90°F, according to USDA FSIS. After that, throw it away.
What temperature should I reheat gravy to?
USDA FSIS says leftover sauces, soups, and gravies should be brought to a rolling boil, and leftovers in general should reach 165°F on a food thermometer.
Turkey Gravy Recipe
The 25 minutes on the recipe card (about 10 minutes of prep and 15 minutes of cooking) start after the turkey is already roasted and has rested. They do not include roasting or the 20-minute rest.
Turkey Gravy From Pan Drippings
Ingredients
Equipment
Method
- Start with a fully cooked turkey (165°F in the innermost thigh and wing and thickest breast). Let it rest about 20 minutes before collecting the drippings. This turkey cooking/resting time is not included in the gravy’s 25-minute time.
- Transfer the turkey to a platter. Strain the pan drippings through a fine-mesh strainer.
- Separate or skim the fat. Measure 8 tablespoons of fat, adding unsalted butter if needed. Measure the defatted juices and add broth to make 4 cups of liquid total.
- In a saucepan over medium heat, whisk the flour into the measured fat. Cook, whisking, until bubbling and lightly browned.
- Slowly whisk in the 4 cups of drippings and broth until smooth.
- Bring to a boil, reduce the heat, and simmer gently for about 10 minutes, stirring, until thickened. Add a little broth if needed to thin it.
- Season to taste with salt, pepper, and optional sage or thyme. Serve hot.
Notes
For the without-drippings and cornstarch variations, see the sections above.